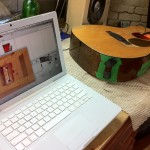
Descriptions of the work process are found with each picture in the gallery below. I also created a short video that demonstrates how I perform restoration work in inaccessible areas inside the guitar, using a camera and magnets.
[youtube_sc url=”http://www.youtube.com/watch?v=MVBsejczG_E”]
Here are the pictures:
-
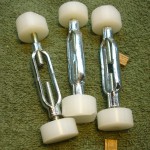
- Expanding clamps
-

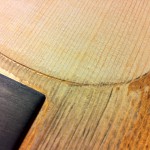
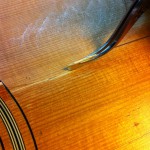
- Applying the glue to a crack in the sides
-

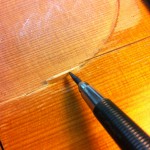
- Rubbing the glue into the crack
-

- Clamping the crack shut
-

- Glue cleanup
-
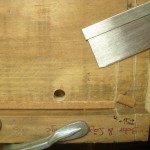
- Cleaning the Inside for Glueing Cleats
-

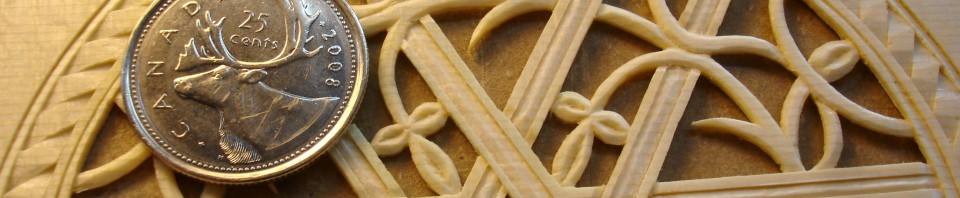
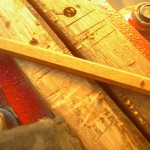
- Making Cleats
-

- Shaping the Cleats
-

- Shaping the Cleats
-
- Making Cleats
-
- Making Cleats
-

- Cleat preparation
-
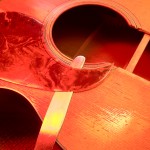
- Glueing the Cleats
-

- Glueing the Cleats
-

- Glueing the Cleats
-

- Glueing Another Crack in the Sides
-
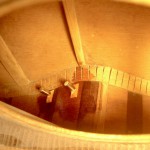
- Using an Endoscope
-
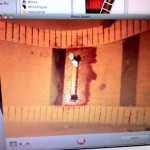
- Using an Endoscope
-
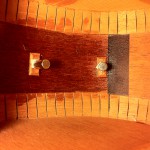
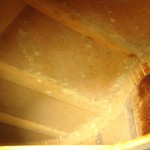
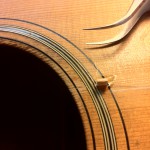
- A Look at the Inside
-
- Removing the Pick Guard
-
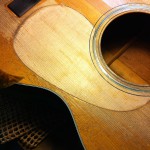
- Bare Wood Underneath the Pick Guard
-

- Bare Wood Underneath the Pick Guard II
-

- Dirt Underneath the Pick Guard
-
- Underneath the Pick Guard
-
- Glueing Top Splints
-
- Fitting a Top Splint
-
- Placing a Top Splint


